Learn about roof flashing’s.
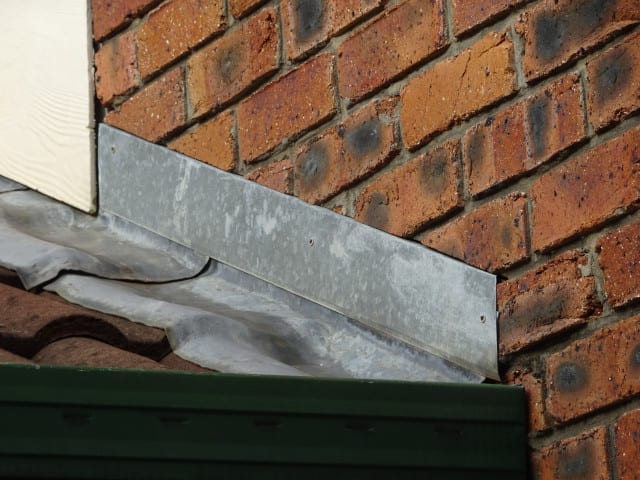
Examples of roof flashing. This is a photo of two flashing’s that have been fitted to cover the gap created between the concrete roof tiles and the external brick wall to stop water entry to the house interior. This is the main purpose of most roof flashing’s. QBIS.
Stepped roof flashing:
There are three stages to this stepped flashing.
- The first is hidden within the brick wall (damp-course) that is fitted during construction of the wall.
- Damp-course barrier fitted to the top level of the bricks and stepped down to suit the roof pitch (angle) and located above the roof tiles.
- A flashing is then fitted under the damp-course and stepped down the face of the bricks.
- The last flashing is fitted behind the previous stepped flashing and extends over surface of the roof tiles, facing down into the tile.
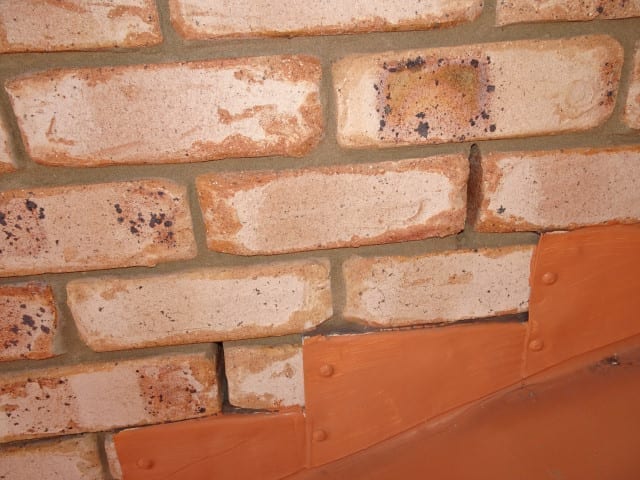
Reason why weep-holes have been fitted to a brick wall above a roof:
A dampcouse barrier has been fitted within this brick wall at the bottom of the weep-holes. Water seepage occurs through the brickwork, the weep-holes allow the water to escape. Without this method of construction, seepage would occur at this point and through to the ceiling below.
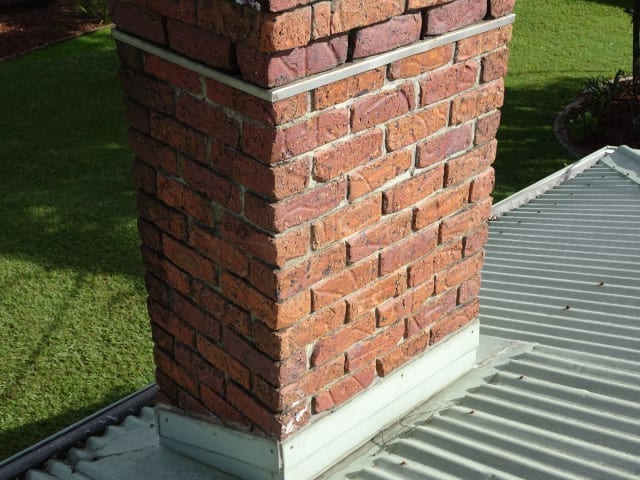
Flashings to a chimney:
- A horizontal tray has been fitted within brickwork of the chimney.
- Flashing is missing between the tray and roof flashing.
- Additional flashing must also be fitted just under the tray and extend down and over the lower level flashing.
Without the additional flashing, seepage will occur through the exposed area of brickwork to the house interior.

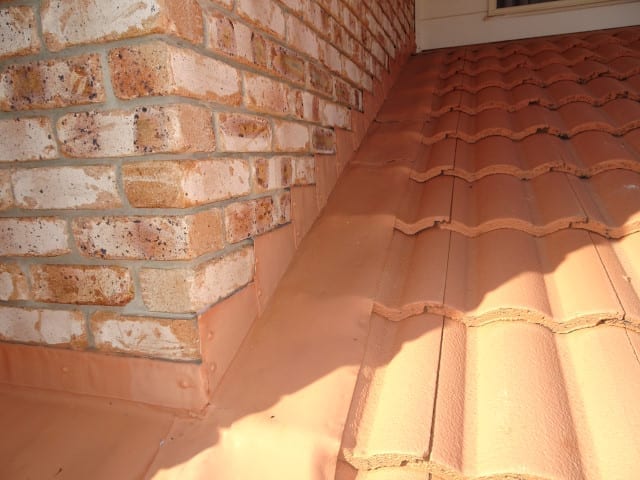
Illustration of flashing where roof meets a brick wall:
Extract from BCA (Building Code of Australia). This is an illustration of a preferred method of fitting roof flashing from the BCA manual, when bricks are exposed. Three main components are: Dampcourse in brick wall, flashing from the dampcourse, flashing under and extending over the roof sheeting.
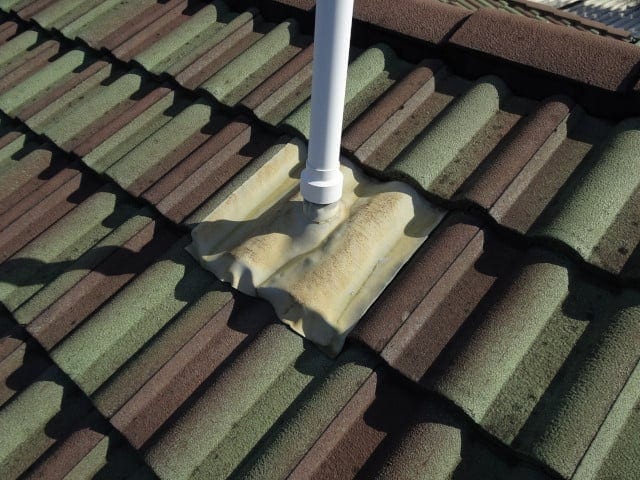
Vent pipe flashing:
- Flashing has been fitted around a vent pipe (usually above a bathroom).
- Left hand side of flashing is too short, it must extend over the tile ridge and down into lower section of tile to be affective.
- A wider flashing is required in this case to avoid leaking.
This is a common fault with vent pipe flashings.
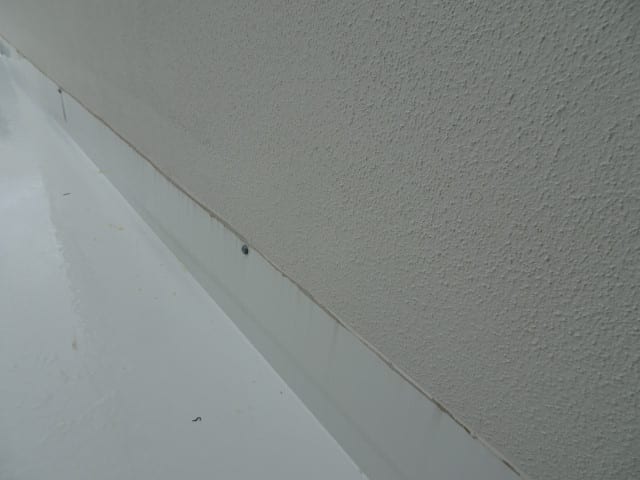
Problems with flashings to split level areas of a roof:
- Single flashing between wall and roof sheeting with sealant to top of flashing.
- This method is deemed acceptable, if wall is rendered.
- Sealants break down over time from UV, it is not a method I would recommended.
This can be rectified by fitting an additional flashing, cut into wall above.
Purpose of roof flashings.
Generally to cover a gap between the roof cladding and whatever penetrates the roof or where a roof meets a wall. But in most cases around a vent pipe.
Some roof and flashing related information that may help you